
This page covers four integrations in Saidot's Integrations view. They share the same Admin setup. Using the new Microsoft Foundry? See Microsoft Foundry Integration.
|
Integration |
Imports to |
How you connect it |
|---|---|---|
|
Azure OpenAI Service |
Model Catalogue |
Resource ID, or Subscription ID + Resource Group + Account Name |
|
Azure AI Services (Classic) |
Model Catalogue |
Resource ID, or Subscription ID + Resource Group + Account Name |
|
Azure Machine Learning |
Model Catalogue |
Resource ID, or Subscription ID + Resource Group + Workspace name |
|
Foundry Agent Service (Classic) |
Agent Catalogue |
Project connection string |
Setup has two parts: an Admin enables the integration once, then a user connects resources in each Space.
Before you start you need:
-
Saidot Admin rights
-
Azure admin rights to register an application in your tenant
-
Your Azure tenant ID
-
Rights to assign roles on the resources or resource groups you want to connect
Part 1. Enable the integration (Admin)
Step 1. Turn on Azure Cloud integrations
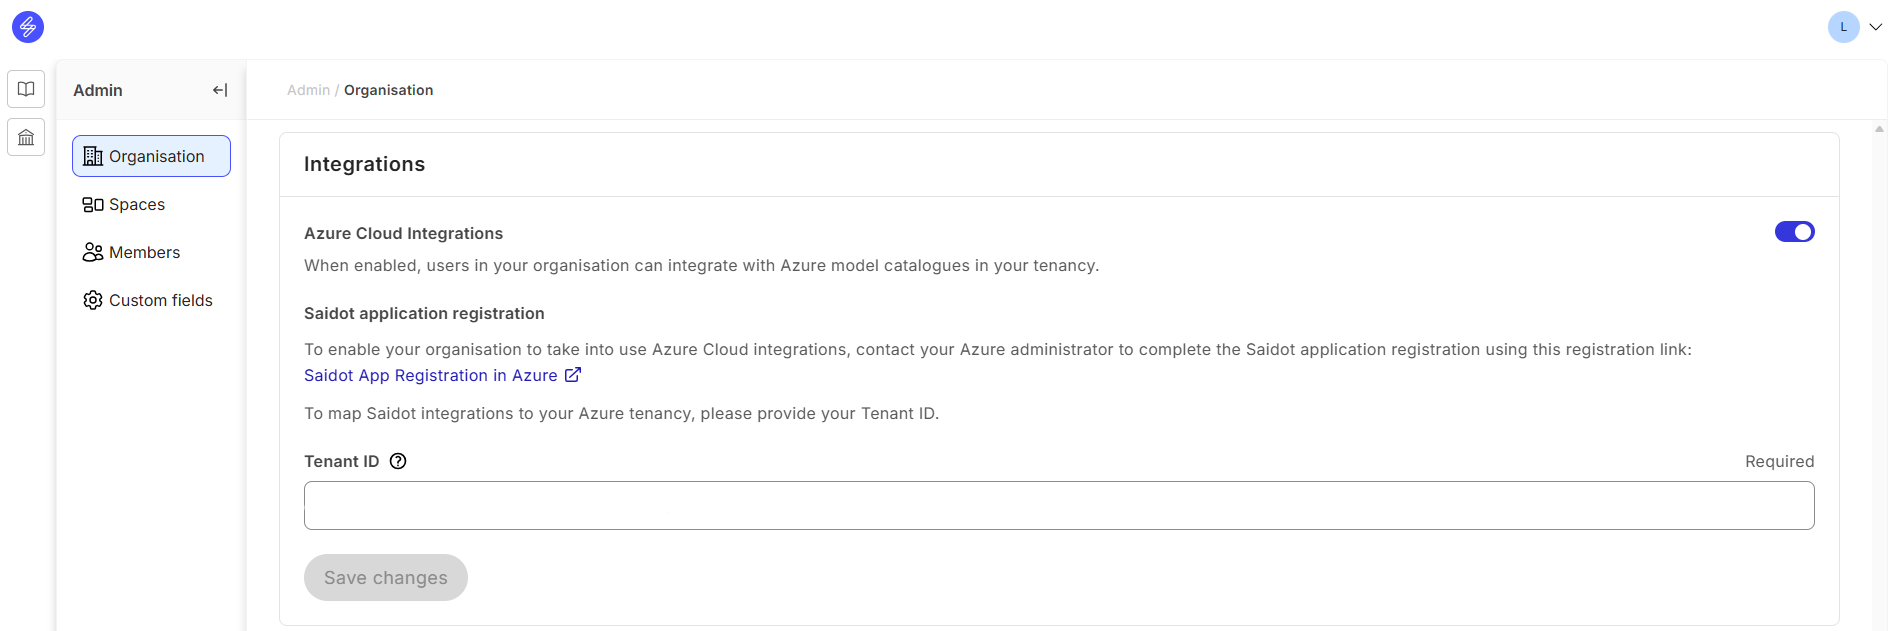
In the Admin interface, switch on the Azure Cloud integrations toggle.
Step 2. Register the Saidot app in Azure
Follow the link in the Admin interface to register the Saidot app in your Azure environment. This needs Azure admin rights.
Step 3. Map to your Azure tenant
Enter your Azure tenant ID to link the Saidot integration to your tenant.
Step 4. Give Saidot read access
The role you assign depends on what you connect.
|
You connect |
Role to assign |
Where |
|---|---|---|
|
Models only: Azure OpenAI Service, Azure AI Services (Classic), Azure Machine Learning |
Built-in Reader |
The resource or resource group |
|
Agents: Foundry Agent Service (Classic) |
Option A: custom role (recommended), or Option B: Foundry User |
The Foundry resource |
If you connect only models, Reader is enough. Reader does not let Saidot list agents, so for agents use Option A or B below.
4a. Models: assign the Reader role
-
Sign in to the Azure Portal.
-
Select the target resource or resource group.
-
Go to Access control (IAM) → Add role assignment.
-
Select Reader and assign it to the Saidot application.
See Microsoft's guide Assign Azure roles using the Azure portal.
4b. Agents, Option A: create and assign a custom role (recommended)
No built-in role is read-only for agents. The custom role Saidot Microsoft Foundry Inventory Reader keeps Saidot's access read-only:
|
Permission |
Type |
What it allows Saidot to do |
|---|---|---|
|
|
Action |
Read the Foundry resource, projects, models and deployments |
|
|
Data action |
Read agents in your projects |
Assign the role on the Foundry resource (the AI Services resource your projects belong to), not on a project. The role then applies to every project in that resource, so agents in all projects are covered.
-
In the Azure Portal, open the resource group that holds the Foundry resource.
-
Go to Access control (IAM) → Add → Add custom role, open the JSON tab, select Edit and paste the definition below. Replace
<subscription-id>and<resource-group>. Select Review + create → Create. -
Open the Foundry resource, go to Access control (IAM) → Add → Add role assignment, select Saidot Microsoft Foundry Inventory Reader and assign it to the Saidot application.
{
  "properties": {
    "roleName": "Saidot Microsoft Foundry Inventory Reader",
    "description": "Read-only access for Saidot to Microsoft Foundry resources, models, deployments and agents.",
    "assignableScopes": [
      "/subscriptions/<subscription-id>/resourceGroups/<resource-group>"
    ],
    "permissions": [
      {
        "actions": [
          "Microsoft.CognitiveServices/*/read"
        ],
        "notActions": [],
        "dataActions": [
          "Microsoft.CognitiveServices/accounts/AIServices/agents/read"
        ],
        "notDataActions": []
      }
    ]
  }
}
If you already created this role for the Microsoft Foundry (new) integration, reuse it: just assign it on this Foundry resource.
Microsoft guides: Create or update Azure custom roles using the Azure portal · Assign Azure roles using the Azure portal
4c. Agents, Option B: assign the Foundry User role
Warning: Foundry User (formerly Azure AI User) gives broad data-plane access, including creating and running agents and deployments. That is far more than Saidot needs to list your agents. Use it only if you accept that access.
-
Open the Foundry project (or resource) in the Azure Portal.
-
Go to Access control (IAM) → Add role assignment.
-
Select Foundry User and assign it to the Saidot application.
You can switch to Option A later: assign the custom role, then remove Foundry User. See Microsoft's Role-based access control for Microsoft Foundry.
Part 2. Connect resources in a Space
Step 1. Open Integrations
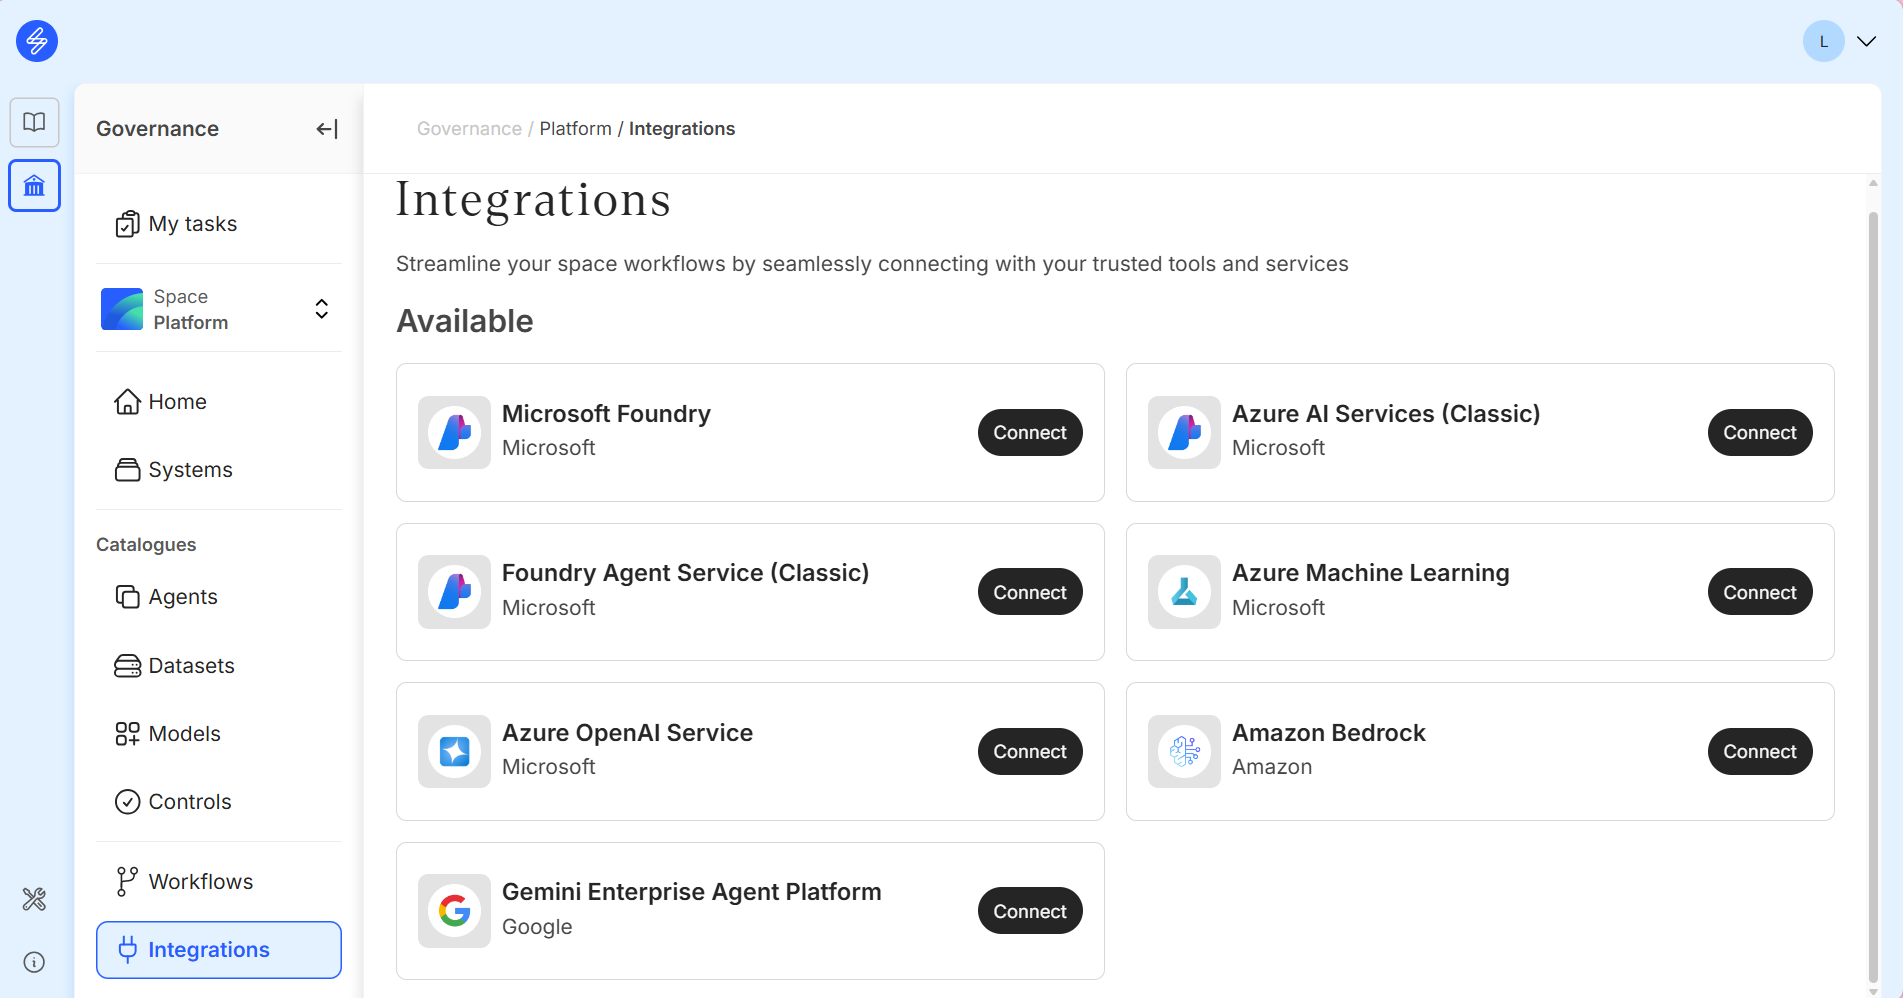
Go to Integrations in the Space and select Connect on the integration you want. Connections are Space-specific.
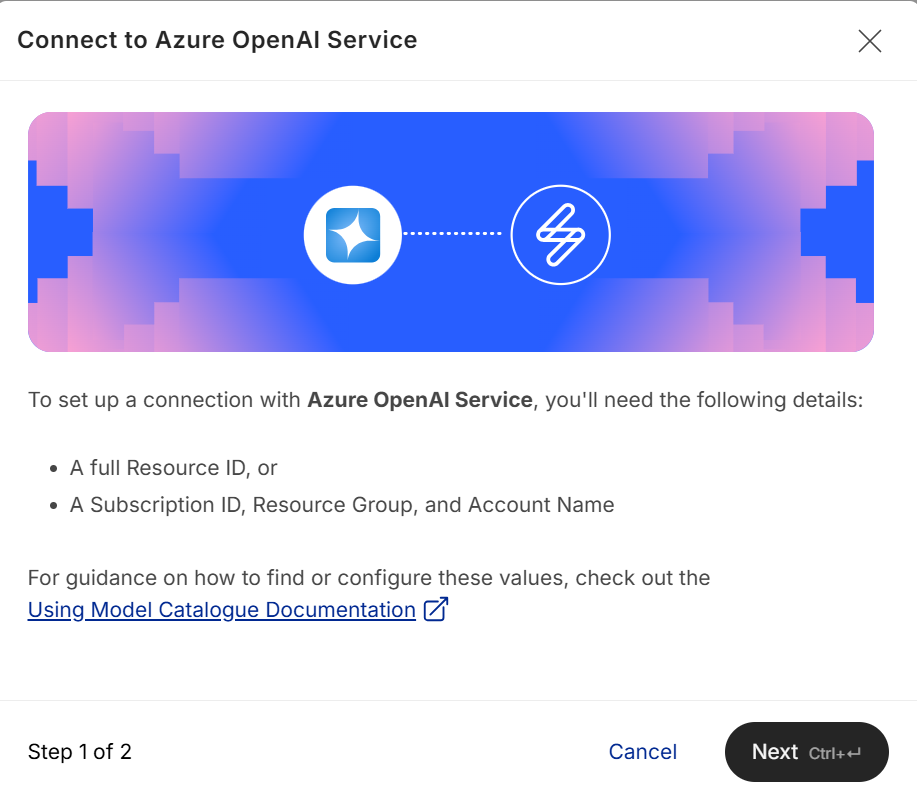
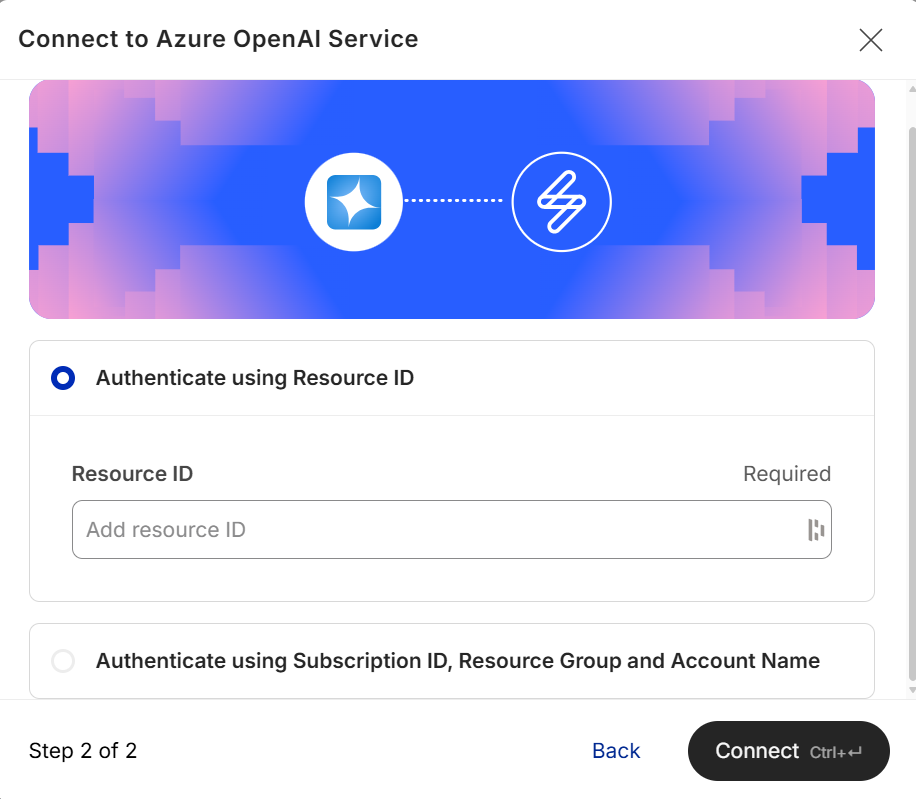
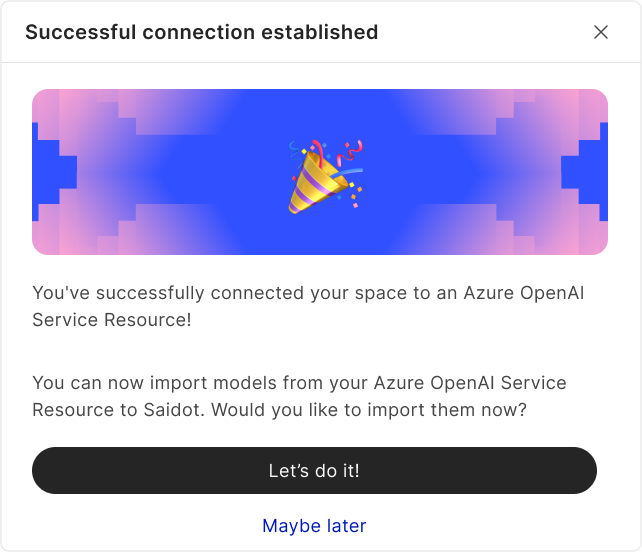
Step 2a. Azure OpenAI Service, Azure AI Services (Classic) or Azure Machine Learning
Enter either the full Resource ID, or the Subscription ID, Resource Group and Workspace name (Azure Machine Learning) or Account Name (Azure OpenAI Service and Azure AI Services).
Step 2b. Foundry Agent Service (Classic)
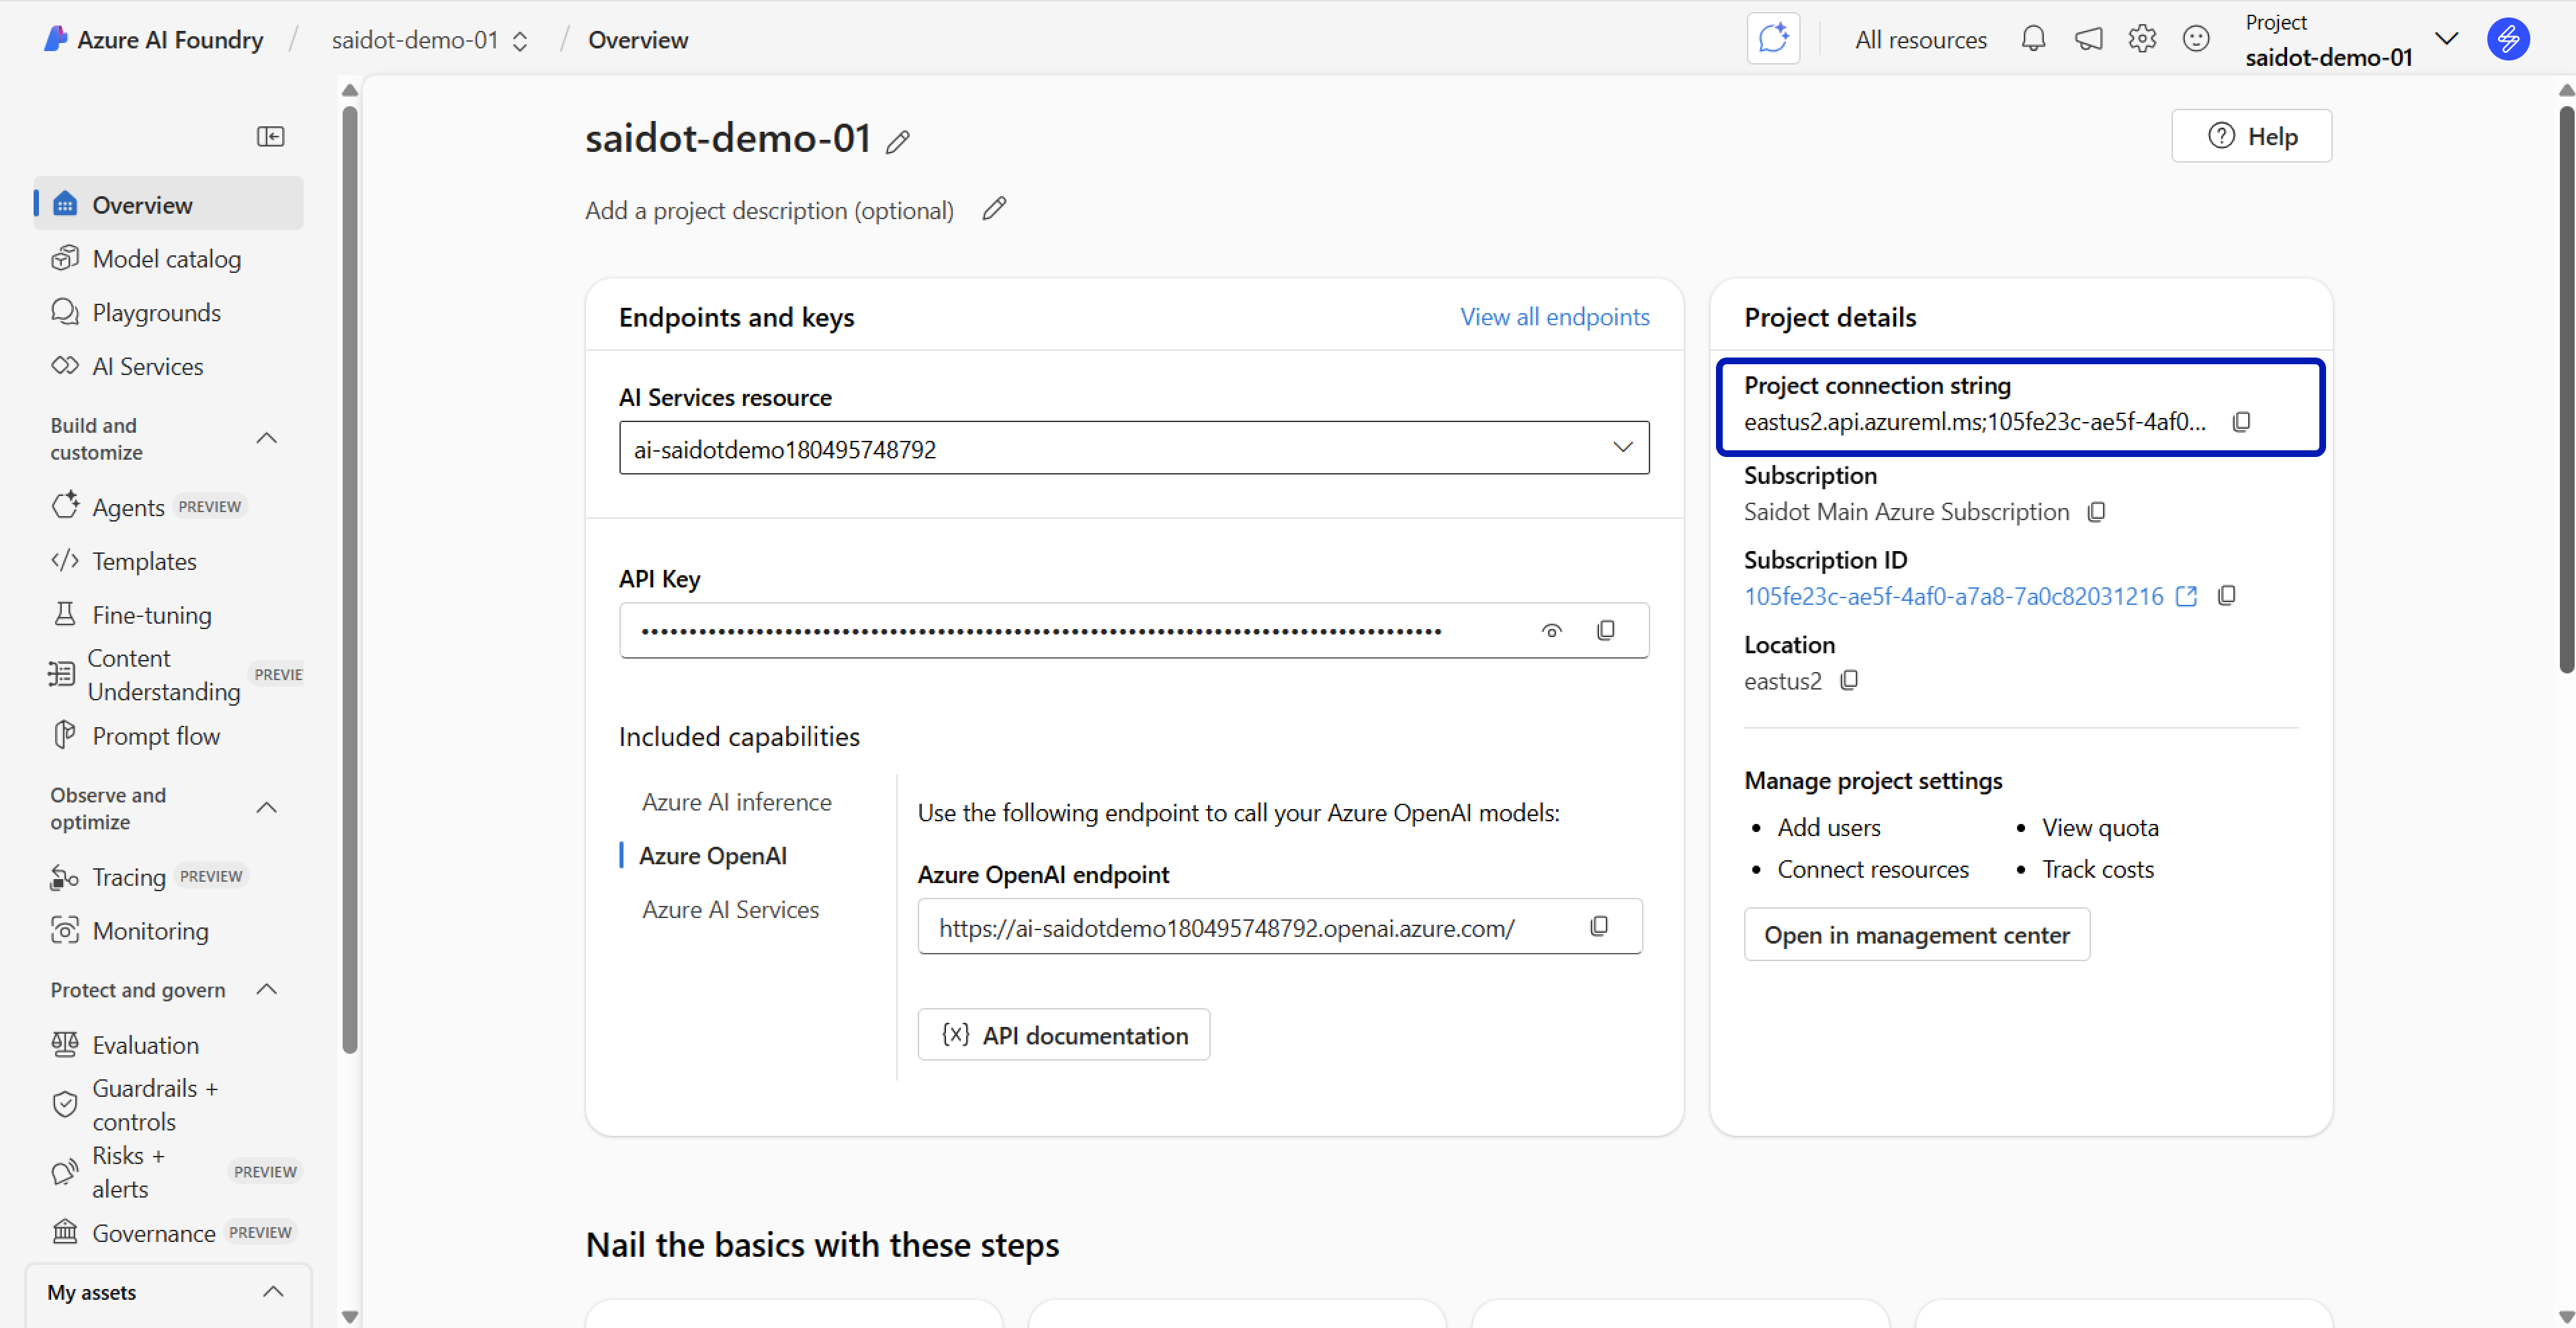
Enter the Project connection string. You find it on your project's Overview page in Microsoft Foundry (classic).
Next: import models and agents – see Integrations.