
Saidot allows you to integrate with existing AI/ML development platforms with built-in integrations. Saidot also has a wide selection of API’s to allow building integrated workflows flexibly and connecting to ML/AI development platforms and data catalog tools that are not yet supported by direct integrations. More information about Saidot API’s can be found here.
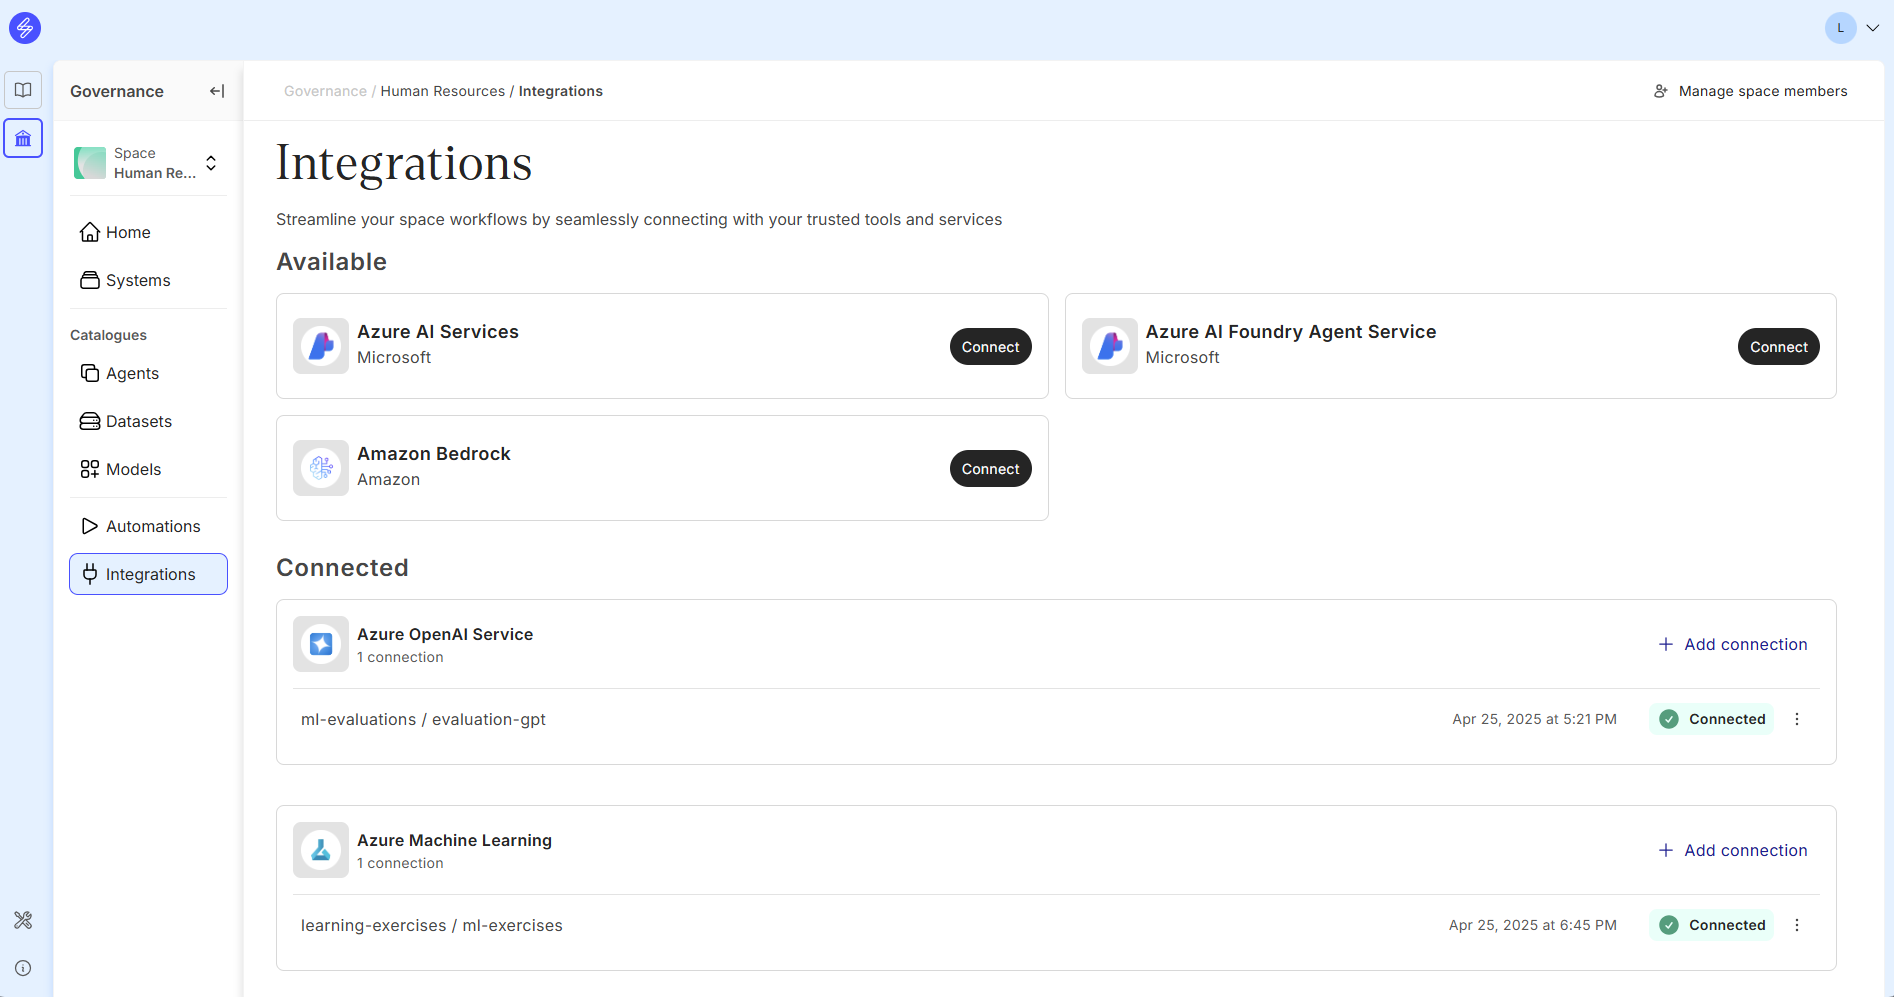
Available in-built integrations for Model Catalogue:
-
Azure OpenAI Service
-
Azure AI Services
-
Azure Machine Learning
-
Amazon Bedrock
Available integrations for Agent Catalogue:
-
Microsoft Foundry Agent Service
-
Amazon Bedrock
The status of the available and connected integrations is visible in Integrations. Recent information about the new in-built integrations can be found in the Release notes. Integrations are configured on a Space-level, allowing different spaces to have their own Model and Agent Catalogues. More information about Spaces can be found here.
How to activate integrations
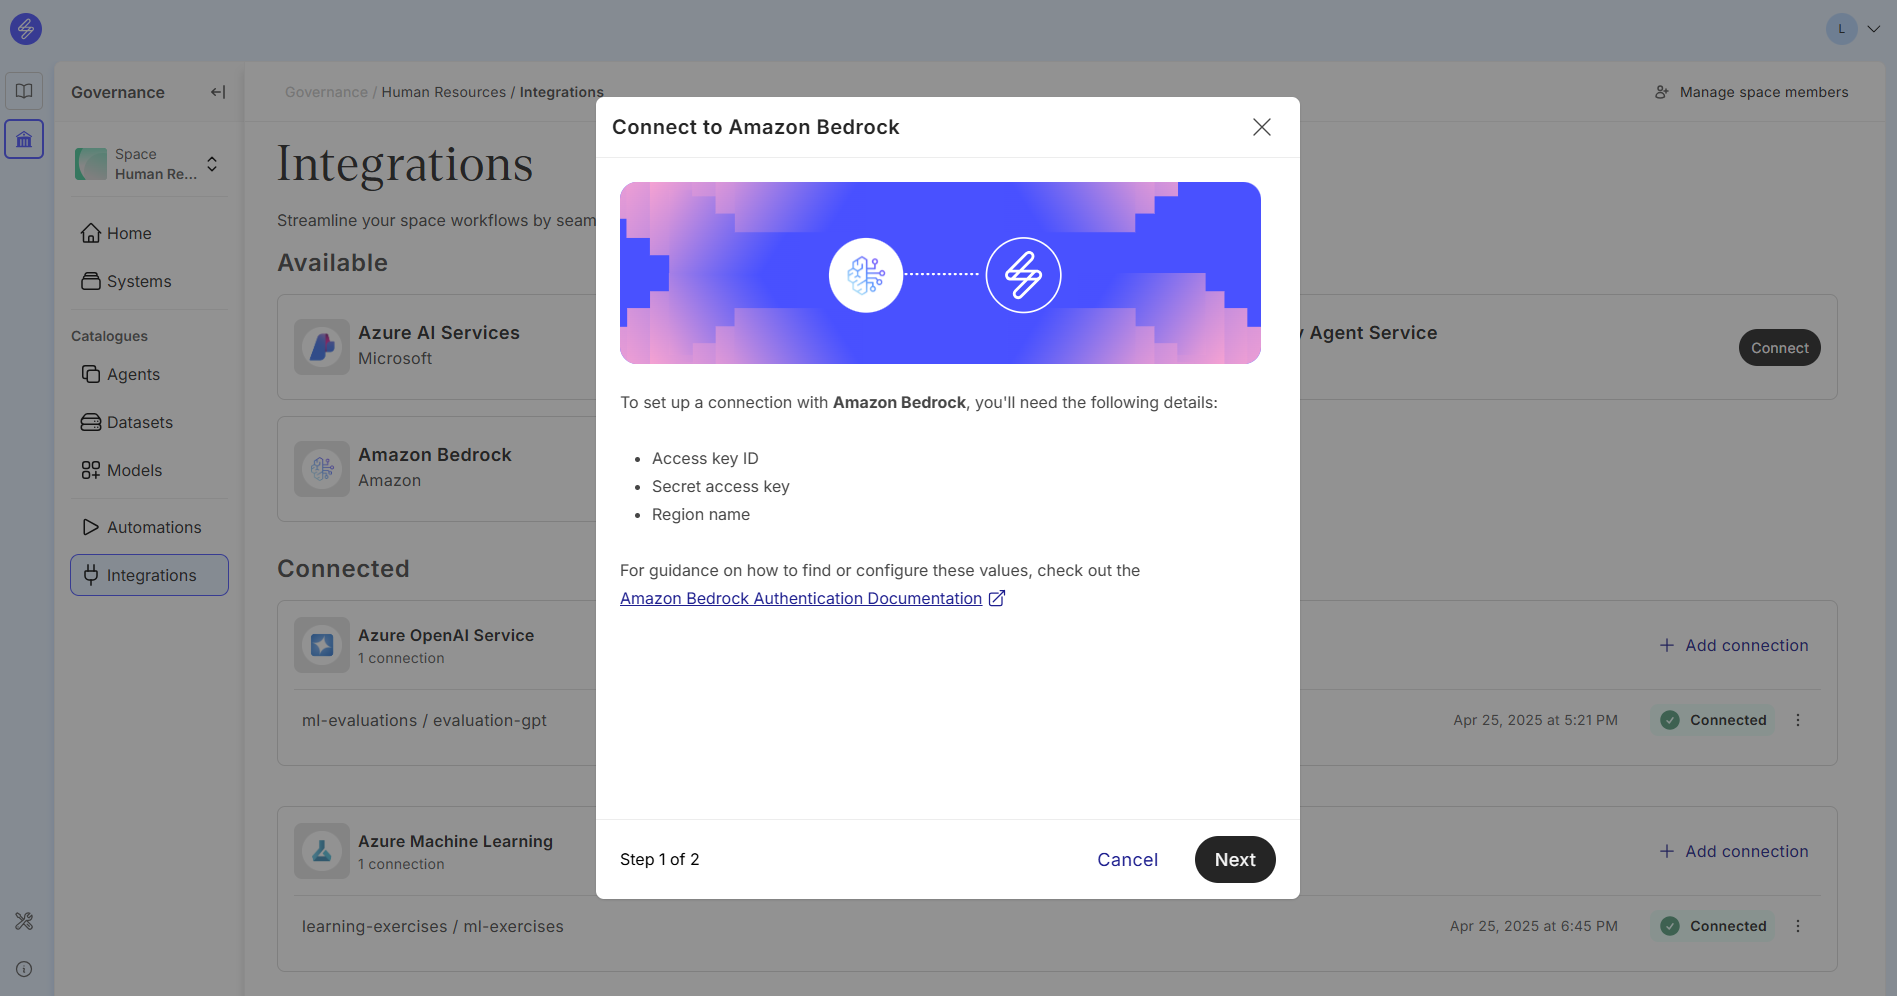
The Saidot in-built integrations are activated by selecting Connect. This will open a window with platform-specific guidelines for the information and steps needed for establishing the integration. As an exception, Microsoft Azure integrations will need to be enabled in the Admin view before a connection can be established.
Enabling Azure Integrations in Admin Interface
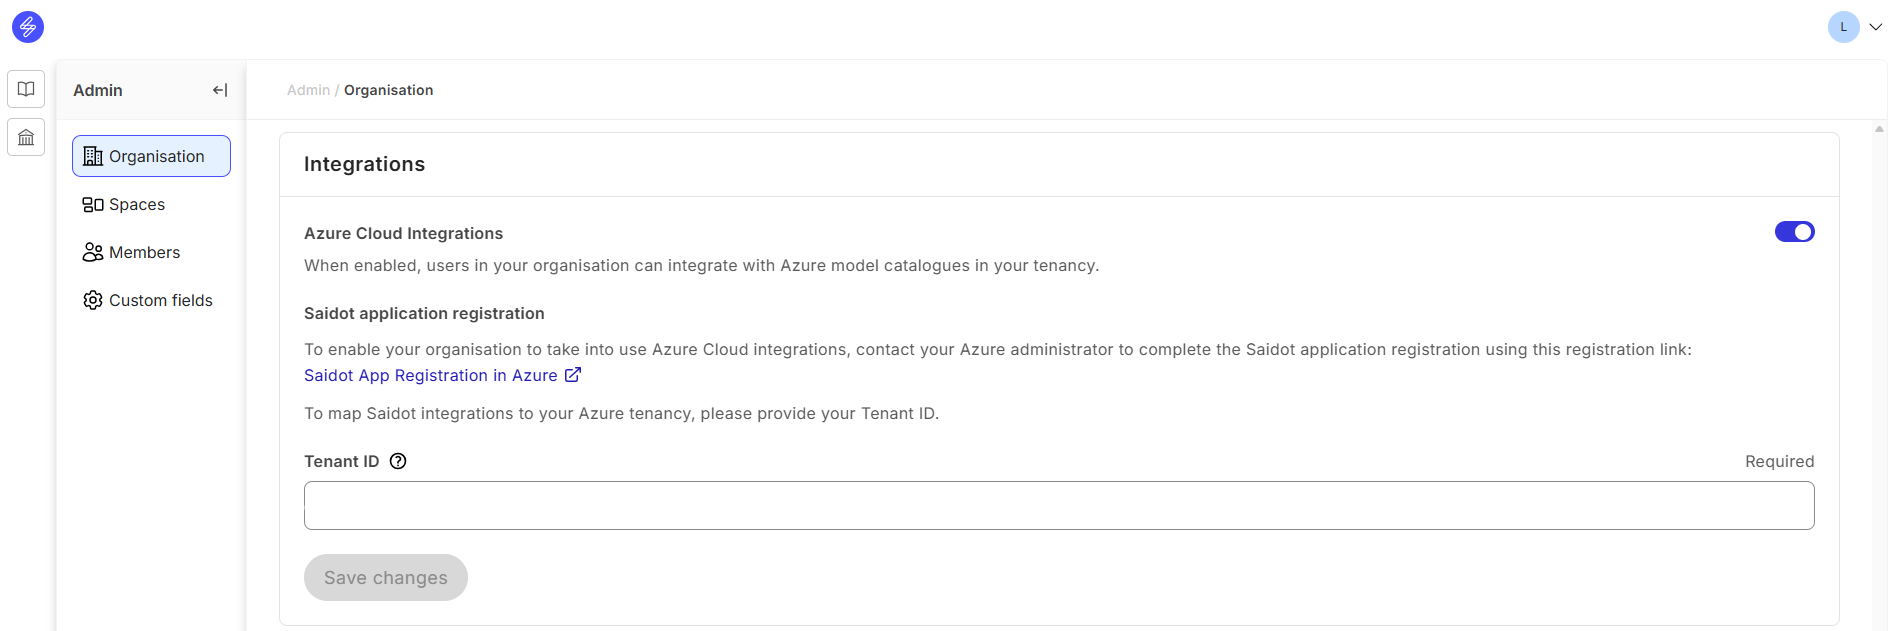
Saidot Azure integrations are enabled by Admins using the Admin interface.
Step 1. Enable Azure Cloud Integrations
Admins enable Azure Cloud integrations in the Admin interface by activating the respective toggle.
Step 2. Register Saidot App in Azure
Admins with Azure Admin access rights can now follow the link provided in the admin UI to register the Saidot app in your Azure environment.
Step 3. Map to Azure tenancy
Next, Admins will need to map the Saidot integration to the right tenancy in Azure by providing tenant id.
Step 4. Assign Reader Role
Finally, Saidot Model Catalogue requires permission to read from the resources that you want to connect to. Assign the Microsoft Reader role to allow Saidot access and retrieve model information using the following steps:
-
Go to Azure Portal and sign in with your credentials
-
Select the Target Resource or Resource Group
-
Go to Access Control (IAM)
-
Add Role Assignment Reader to Saidot application
For detailed guidance on configuring these permissions, visit Assign Roles in Azure.
Connecting to the Azure model and agent registers
Integrate ML & AI development or MLOps platform to govern models with Saidot by following these steps.
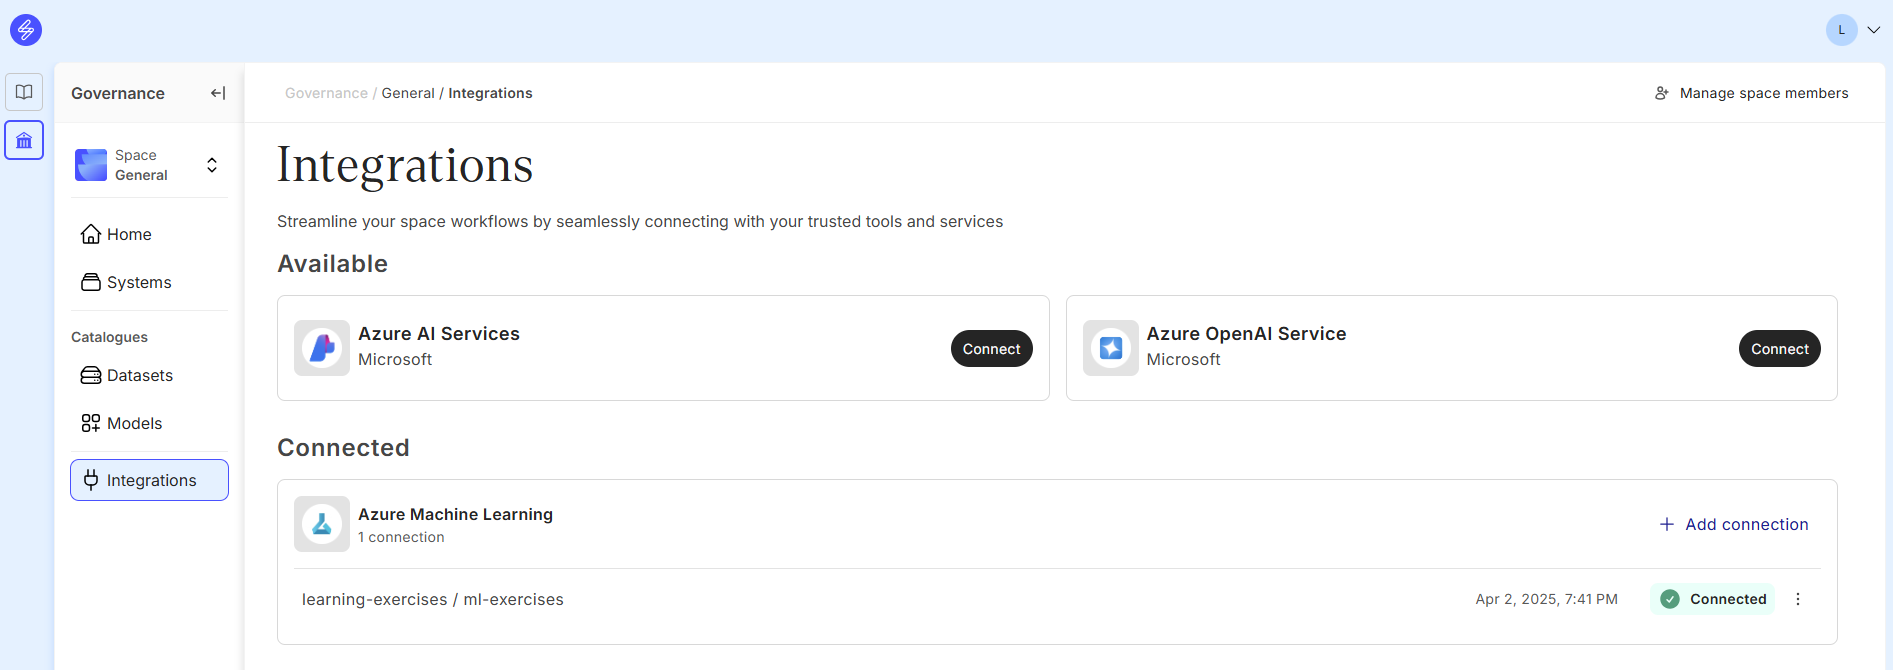
Step 1. Select Integrations
Navigate to Integrations and select Add connection to start the integration flow. Note that integrations are Space-specific.
Step 2. Connect to Azure Service Resource
For the model integration, use the full Resource ID or a Subscription ID, Resource Group and Workspace name.
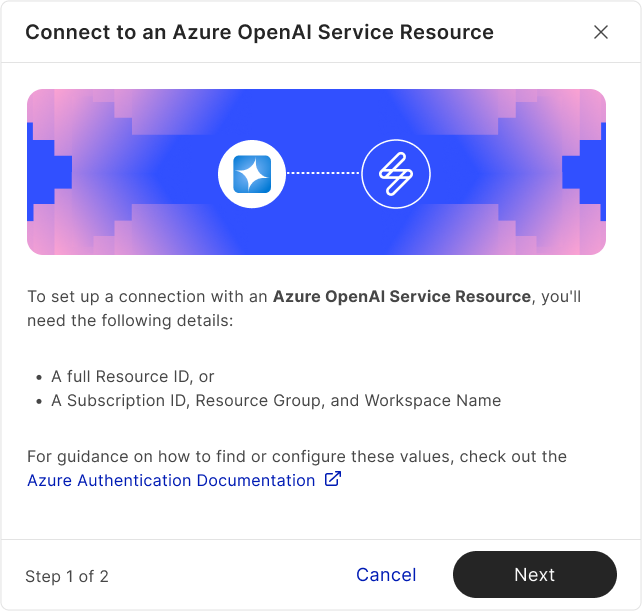
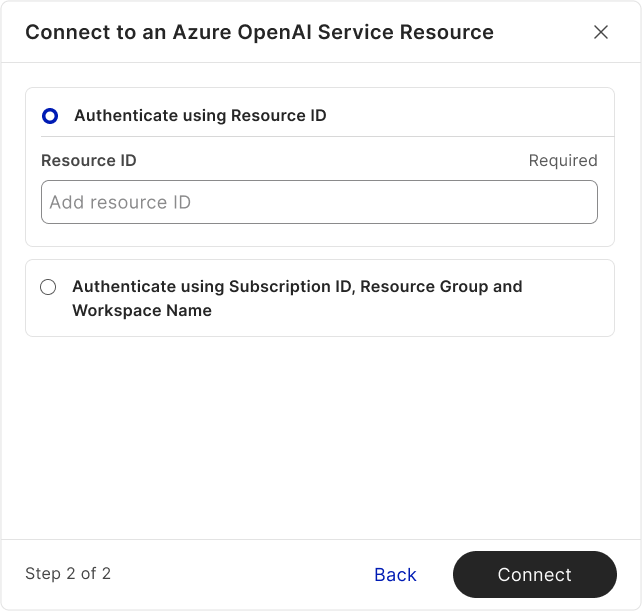
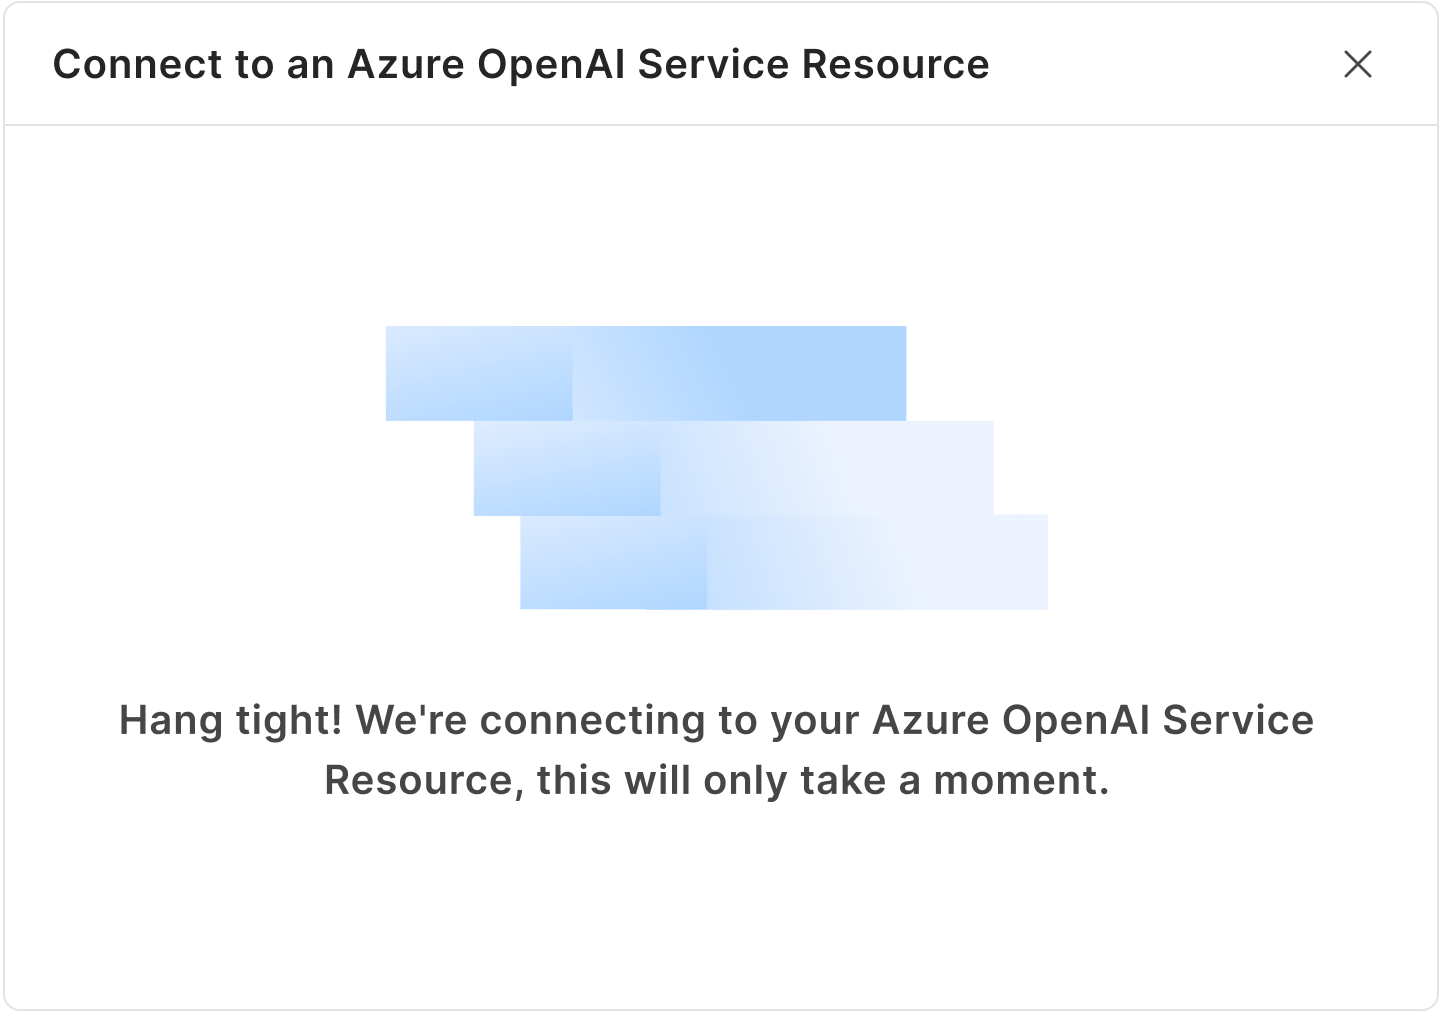
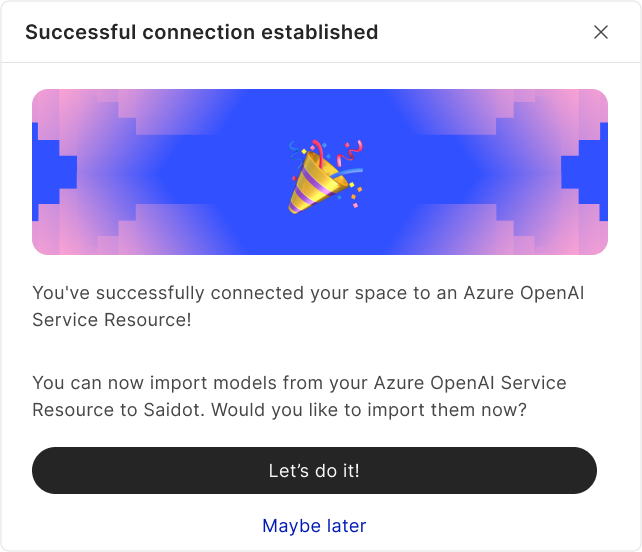
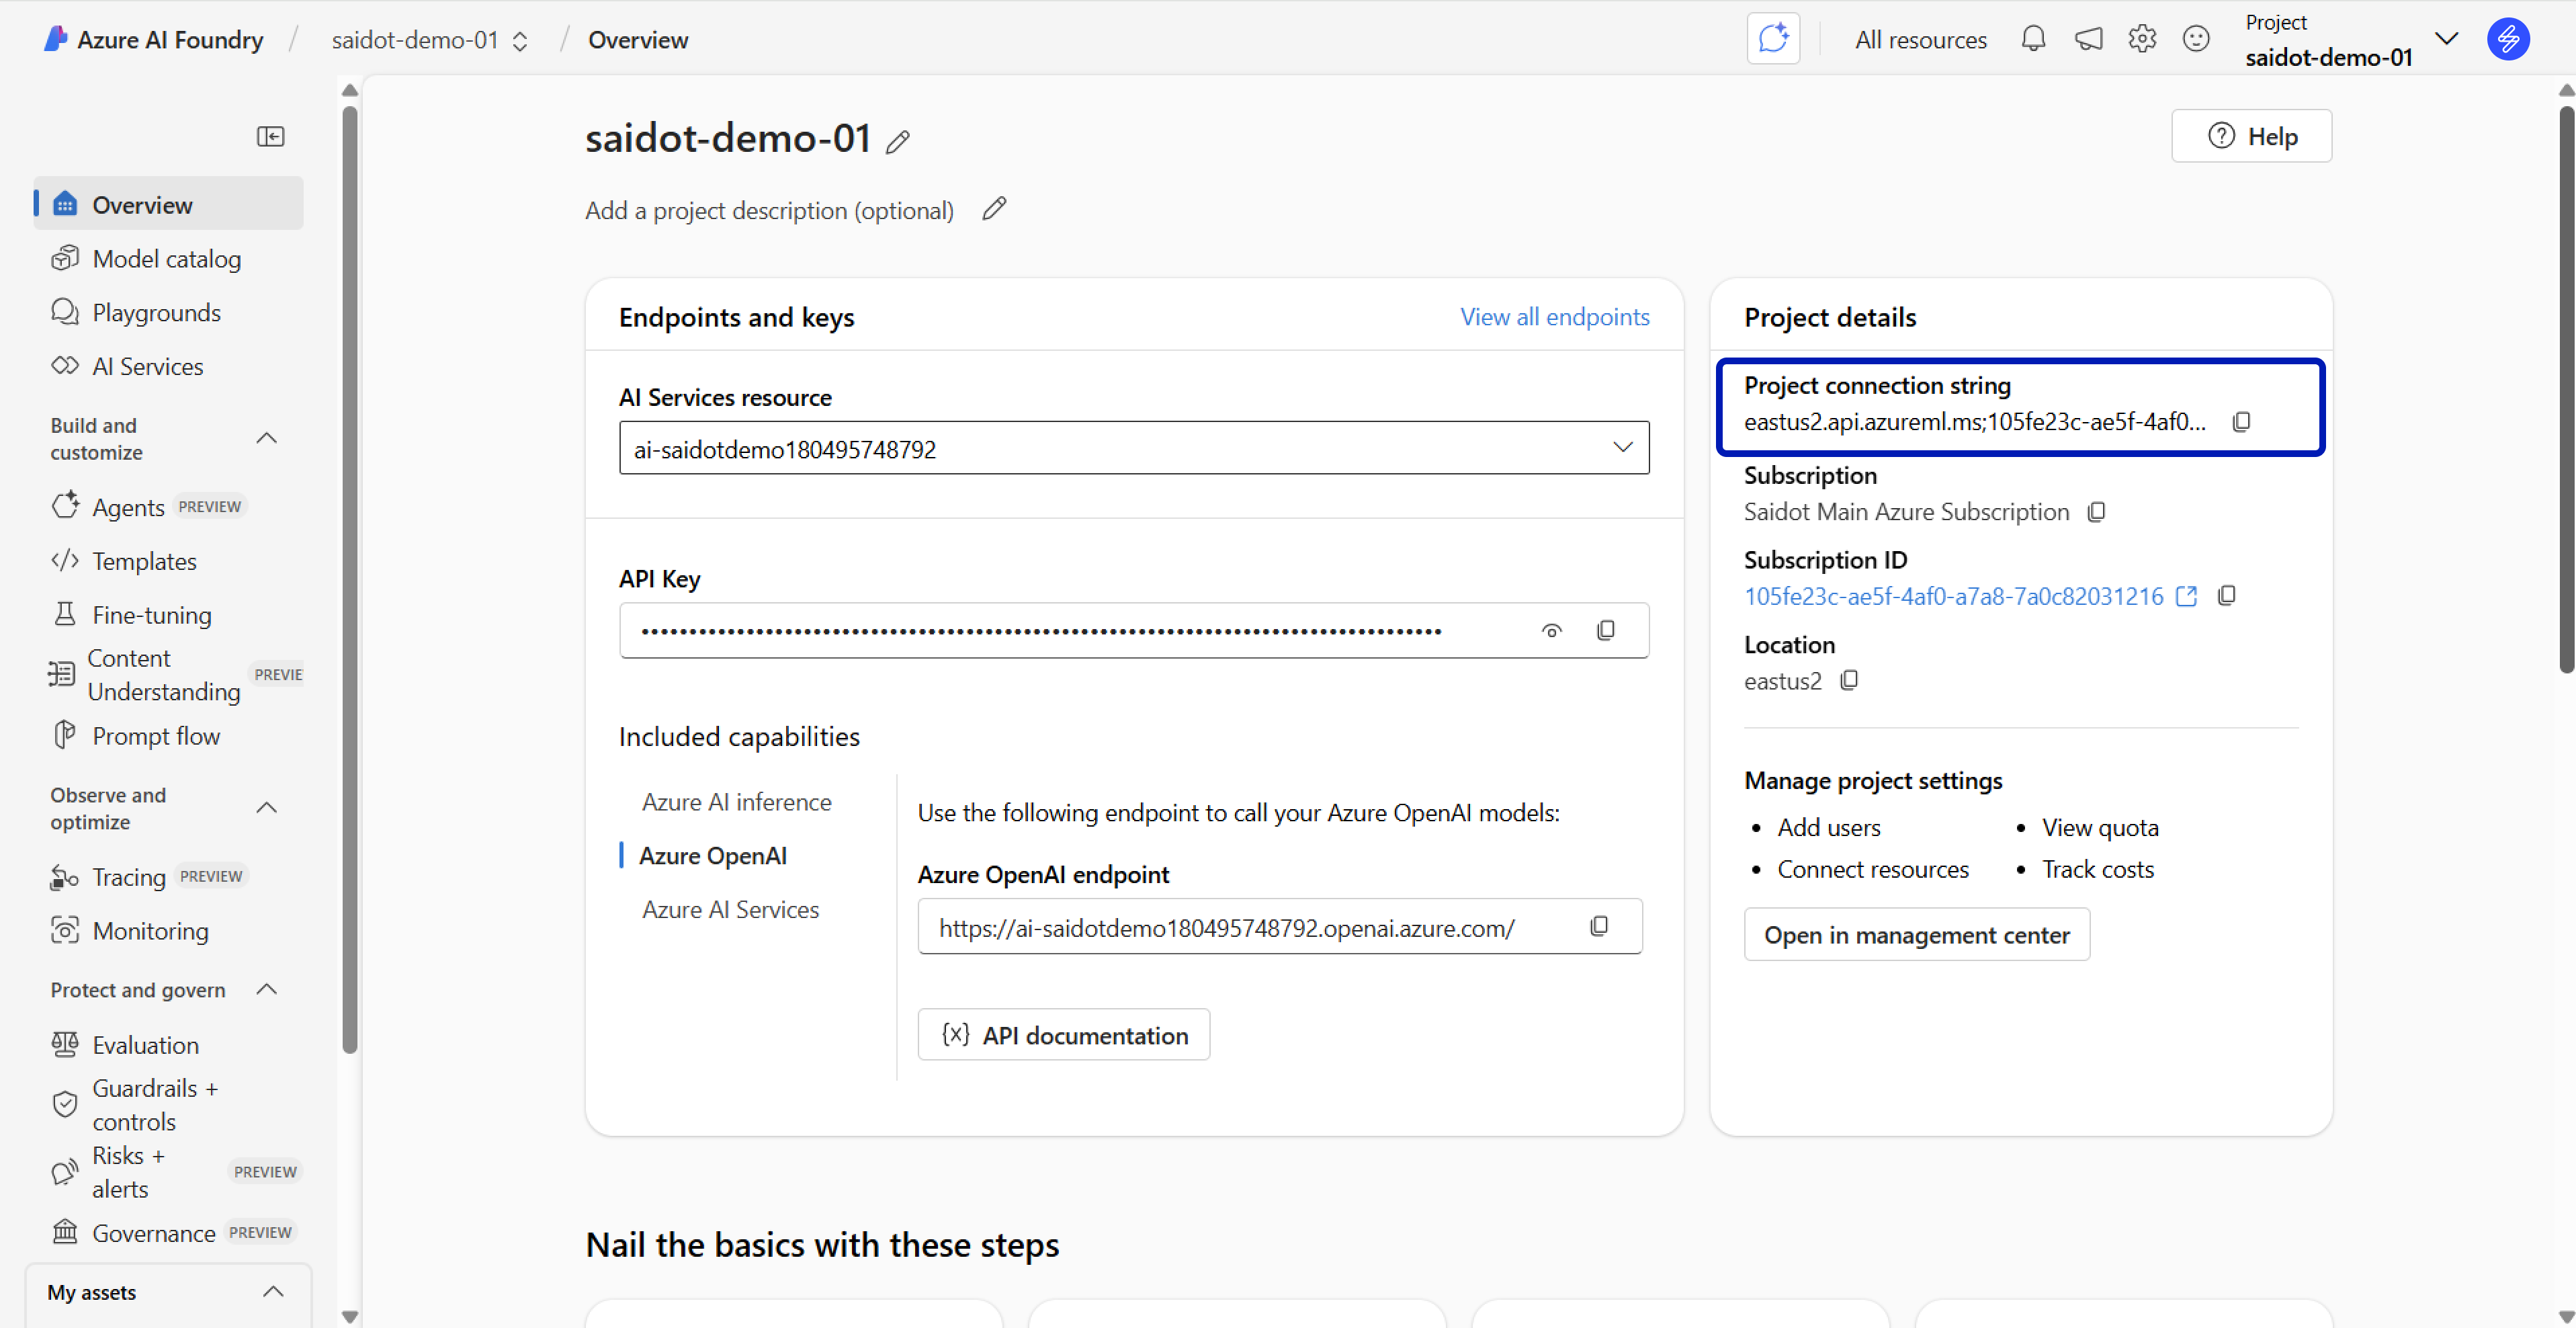
For agent integration, use the project connection string, which is available on the Overview page of your project in Microsoft Foundry
Connecting to the Amazon model and agent registers
Amazon Bedrock integration can be established in the Integrations view by selecting Connect. Amazon provides guidance on how to find or configure these values here.
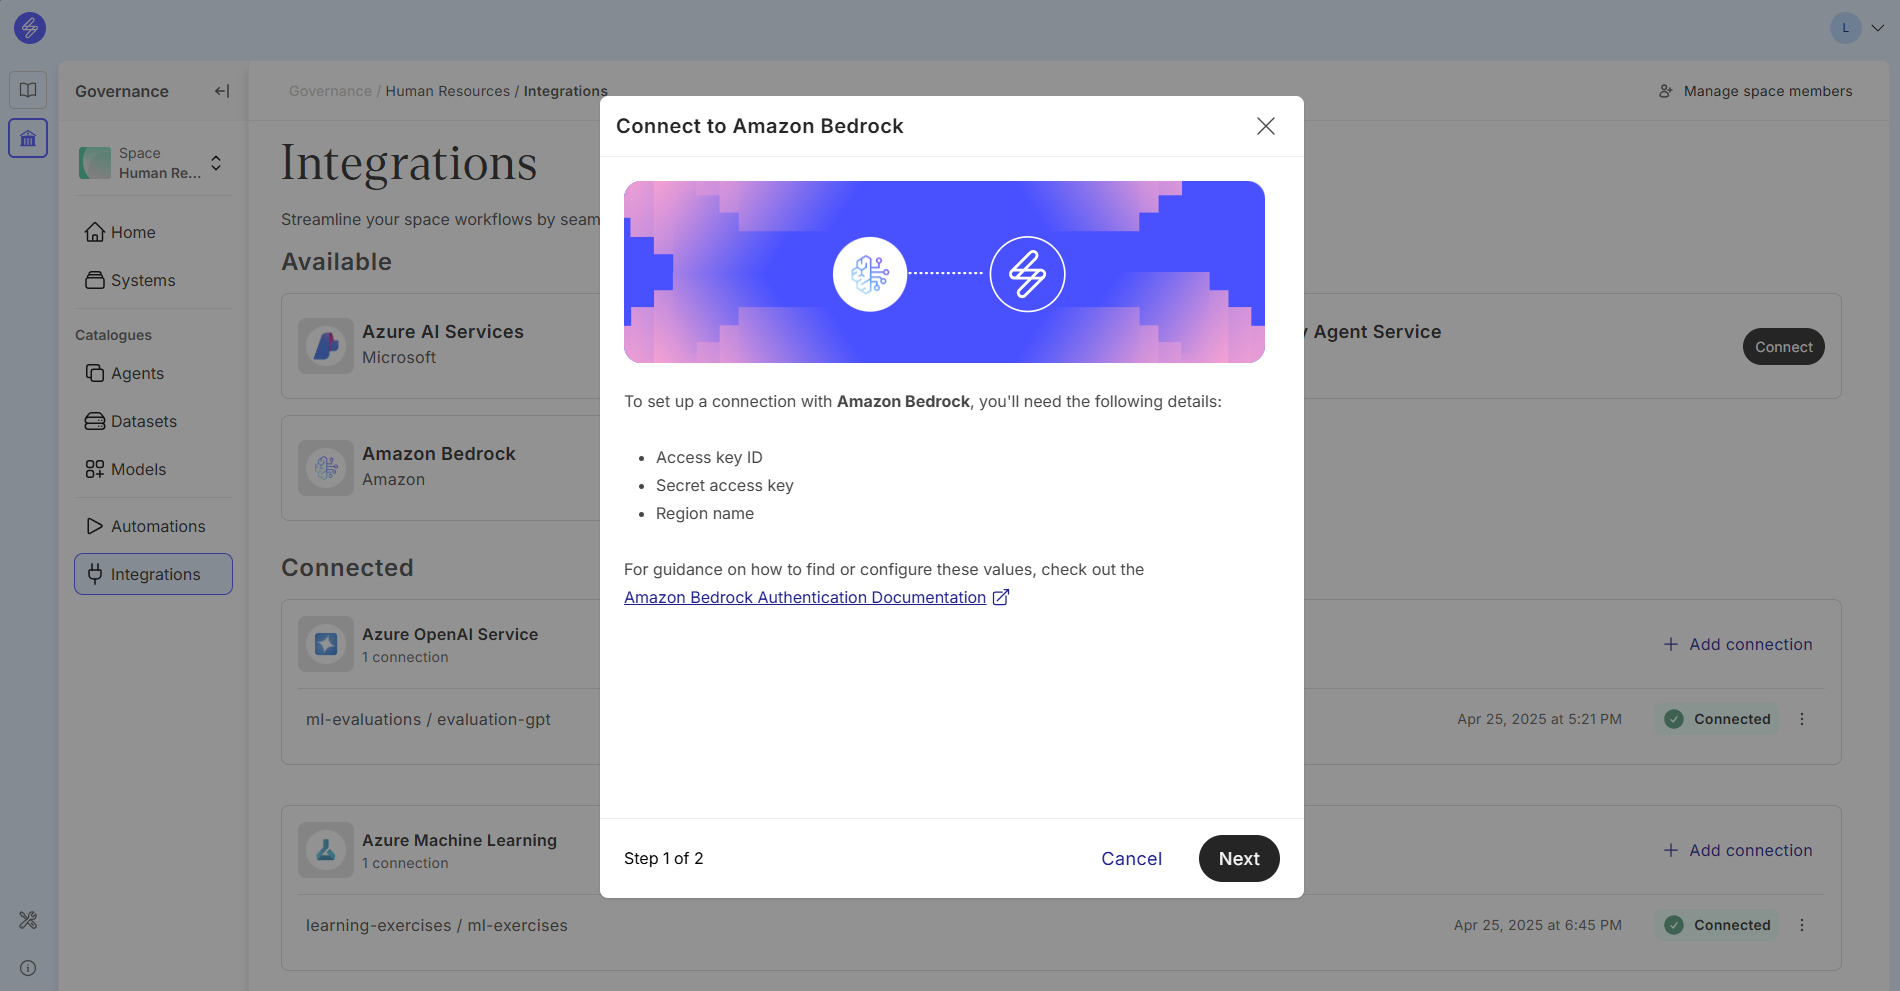
This information is entered into the fields in the second screen.
Importing models to the Model Catalogue
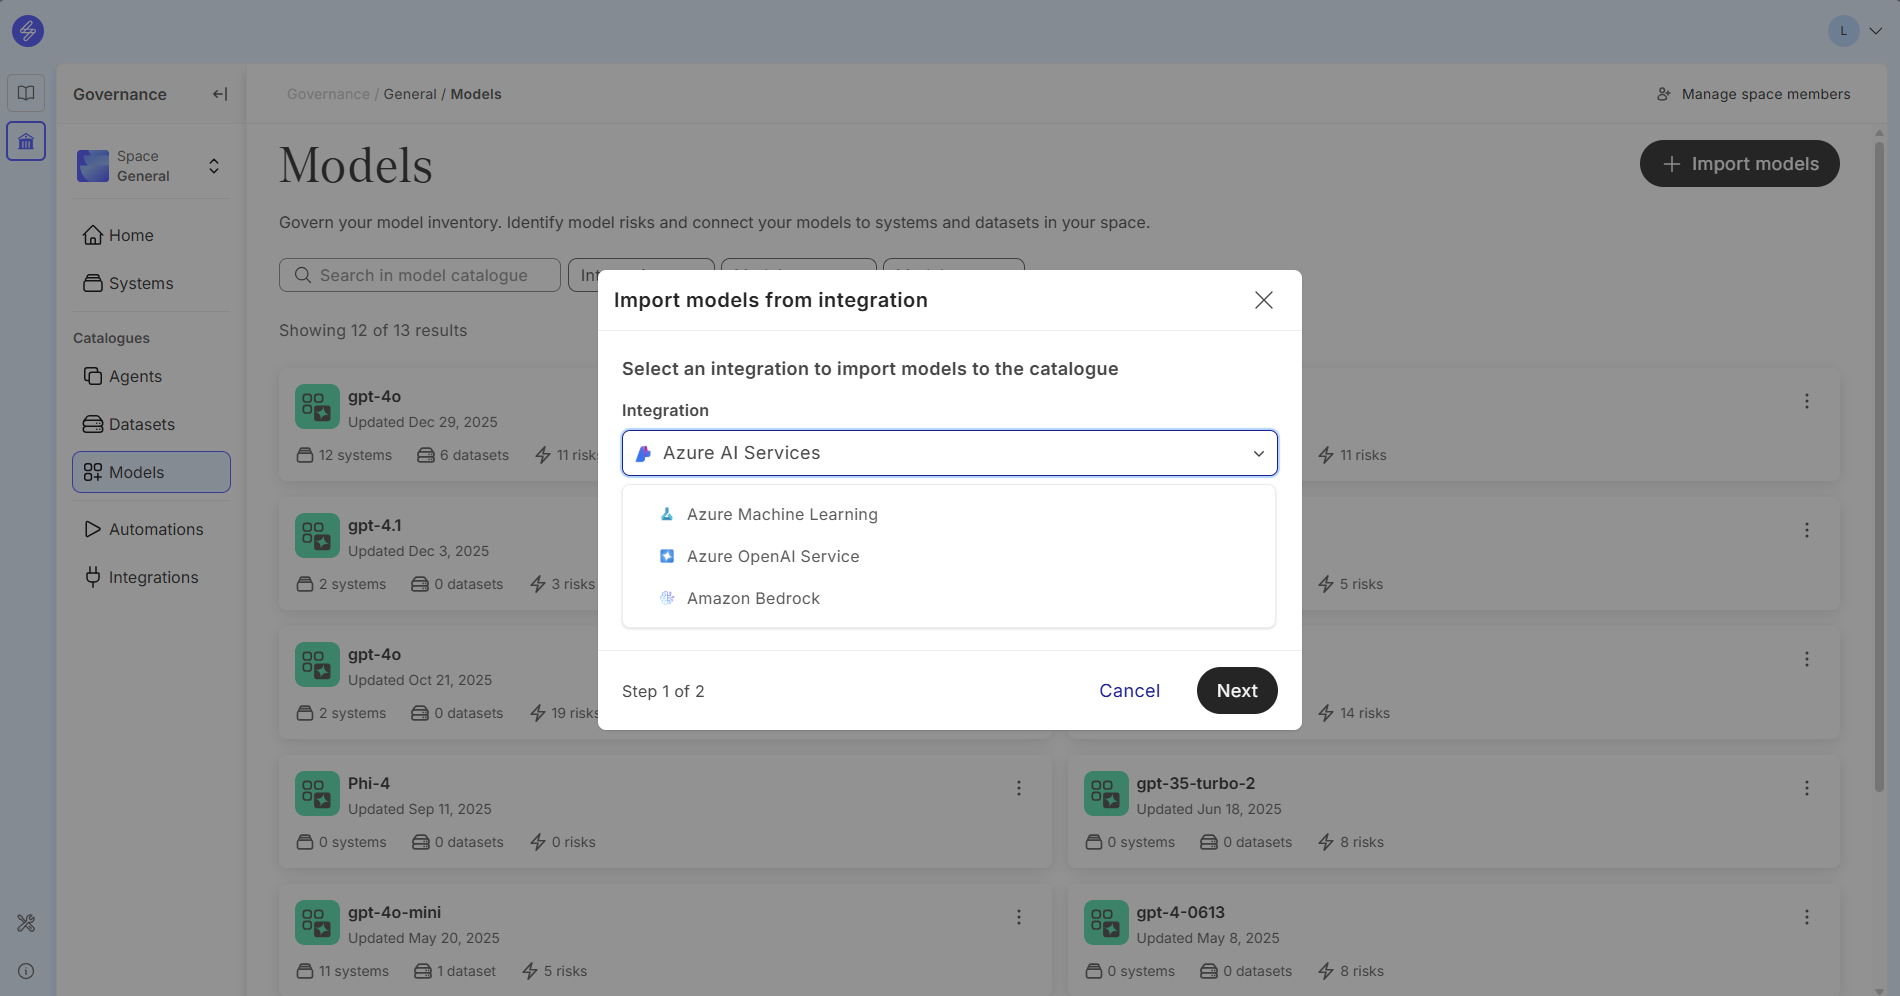
After integration has been established, Model metadata can be imported to Saidot by selecting the integration. The integration will generate a Model Card, including Model and Deployment details.
Model details include information such as
-
Model name and if a Base model has been used
-
Creation time and Created by
-
Last modified at and Last modified by
-
Model usage name and Model owner
-
Model version, default version and lifecycle status
-
Model retirement time
Deployment details contain information such as
-
Deployment name
-
Created at and Created by
-
Last modified at and Last modified by
-
Deployment status and provisioning state
-
Deployment ID
-
Description
If the model is using a Base mode that is in the Saidot Library, the integration will also automatically link the Base model Risks to the Model Card. More information about the imported data can be found in the guideline section Using Model Catalogue.
Importing Agents to Agent Catalogue
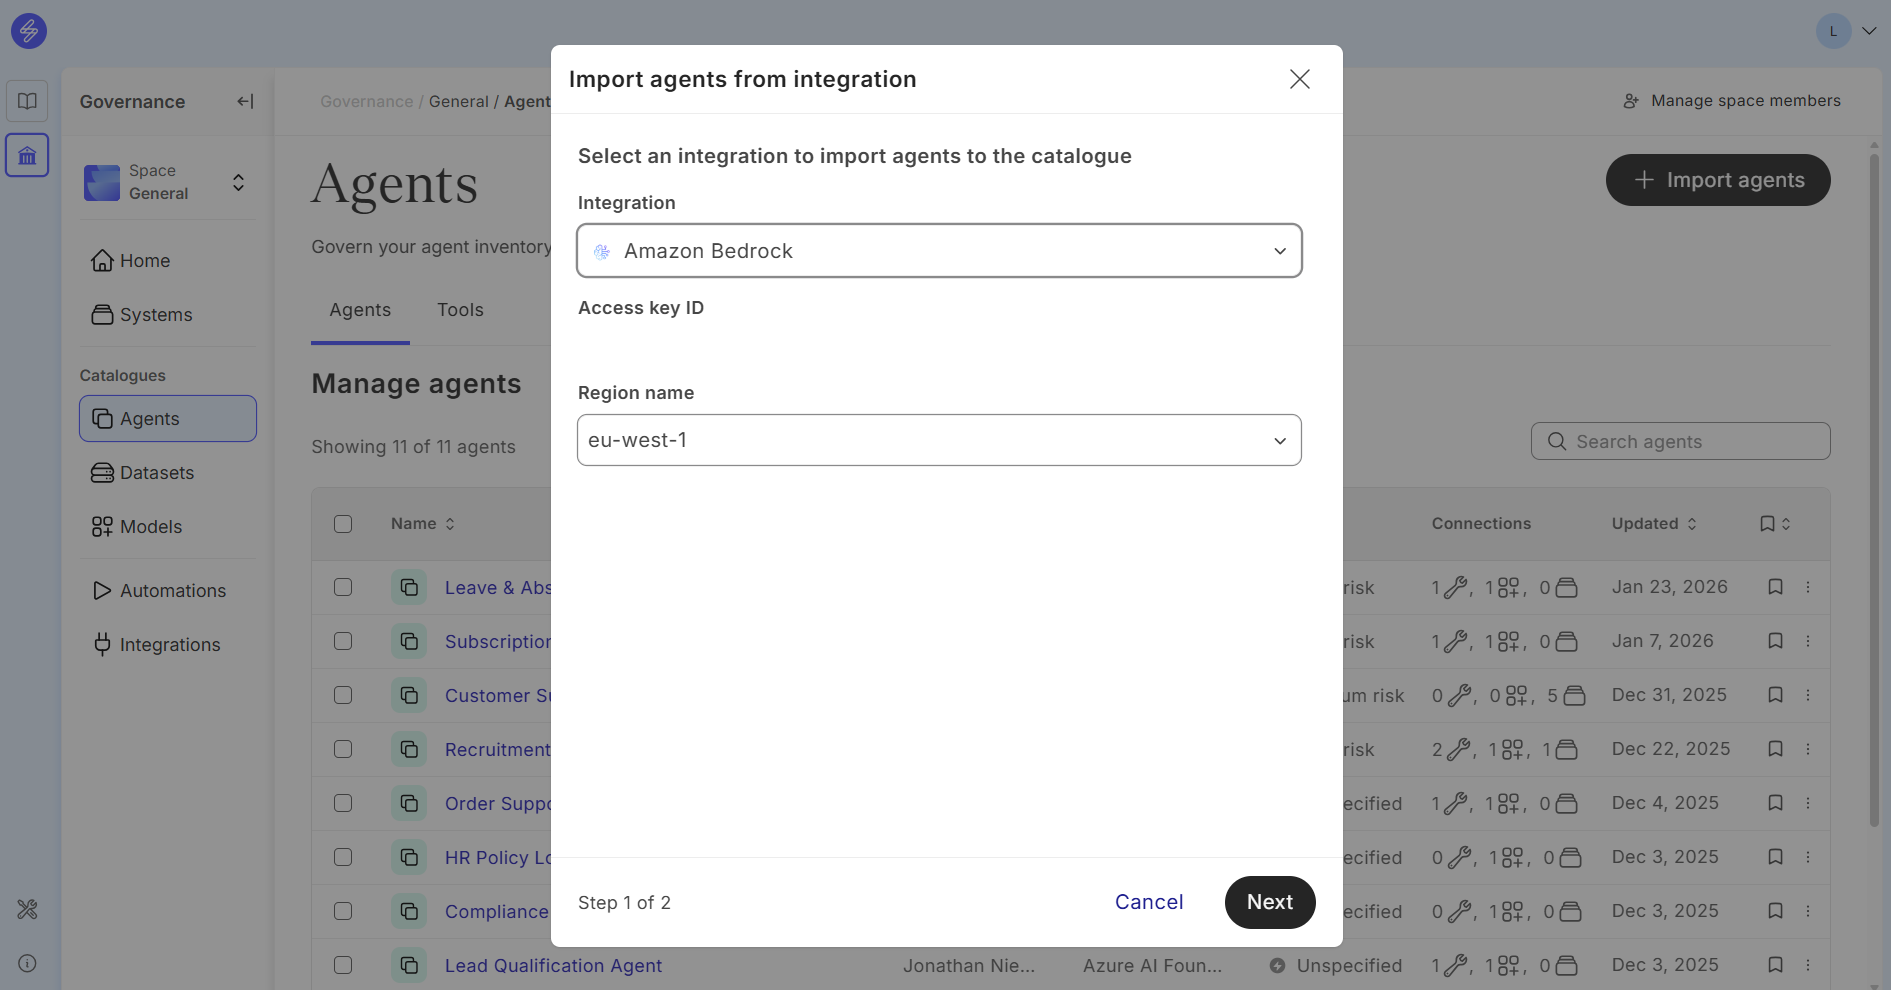
After the integration has been established, Agent metadata can be imported to Saidot by selecting the integration. The integration will generate an Agent Card, including Agent details and Tools.
Agent details contain general fields and platform-specific fields. General fields include
-
ID and version
-
Created at and Last Modified at
-
Status and Type
-
Description and Instructions
The integration also populates information about the Tools the agent has access to. More information about how to govern Agents with Saidot can be found here.
Enabling Gemini Enterprise Agent Platform connection
This guide walks you through configuring Workload Identity Federation in your Google Cloud project so that models and agents metadata can be imported from Gemini Enterprise Agent Platform (formerly Vertex AI).
No service account key is created, and no credential is ever exchanged. Instead, your project is configured to trust a single service identity from our Microsoft Entra tenant, restricted to read-only access. You revoke that access at any time by deleting the binding — there's nothing in circulation to rotate or leak.
Setup takes about 15 minutes in the Google Cloud Console. You'll need roles/iam.workloadIdentityPoolAdmin, roles/iam.serviceAccountAdmin, and roles/resourcemanager.projectIamAdmin on the target project.
Values we provide
These identify our service to your project. All four are public identifiers — none is a secret. Copy them exactly; GCP matches them character for character.
|
Value |
Enter it in |
Our value |
|---|---|---|
|
Issuer URL |
Provider → Issuer (URL) — step 4 |
|
|
Audience |
Provider → Allowed audiences — step 4 |
|
|
Our tenant ID |
Attribute condition — step 5 |
|
|
Our app client ID |
Attribute condition — step 5 |
|
|
Our service principal ID |
Grant access → subject — step 7 |
|
Setup WIF via Google Cloud Console
1. Enable the APIs
Go to APIs & Services → Library and enable each of these by searching for it and clicking Enable:
-
Identity and Access Management (IAM) API
-
Security Token Service API
-
IAM Service Account Credentials API
-
Vertex AI API (may be listed as Gemini Enterprise Agent Platform API)
2. Note your project number
Dashboard → the Project info card shows both Project ID and Project number. Copy the number. WIF resource paths use the number, never the ID.
3. Create the workload identity pool
Go to IAM & Admin → Workload Identity Federation. If you see a "Get started" splash, click Get started; otherwise click + Create pool.
Screen 1:
-
Name:
azure-pool-saidot -
Description: optional
-
Enabled pool: on
-
Continue
4. Add the provider
Screen 2 of the same wizard:
-
Select a provider: OpenID Connect (OIDC)
-
Provider name / ID:
azure-provider-saidot -
Issuer (URL): paste it exactly, trailing slash included
-
Leave "JWK file (JSON)" empty (Google will fetch Microsoft's keys from the discovery document)
-
Audiences: choose Allowed audiences and enter
api://b3e49e39-336b-49c0-9ffb-e15ee74ab62c -
Continue
Do not use the "Default audience" option. The default is the provider's own resource name, which won't match the audience in our tokens.
5. Configure attribute mapping and condition
Screen 3:
Under Attribute mapping, fill in:
|
Google attribute |
OIDC field |
|---|---|
|
|
|
|
|
|
|
|
|
Click Add mapping to get extra rows.
Under Attribute conditions, click Add condition and paste:
assertion.tid == '8e629ce8-fc36-4d79-a21e-e31b789b6d74' && assertion.appid == '9b84990a-516d-4da7-b828-d7ce6ab4fd6b'
Then Save.
Do not skip the condition. An OIDC provider trusting Microsoft's issuer with no condition will accept tokens minted by any principal in any Entra tenant that can request that audience. The condition is what narrows it to our one service identity.
6. Create the service account
Go to IAM & Admin → Service Accounts → + Create service account.
-
Name:
wif-saidot-model-agent-reader -
Create and continue
-
Grant this service account access to project: select role Agent Platform Viewer and Agent Registry API Viewer (Beta)
-
Continue → Done
Skip the "Grant users access to this service account" step; you'll do the equivalent in the next step through the WIF page, which is less error-prone.
7. Grant the Azure identity permission to impersonate it
Go back to IAM & Admin → Workload Identity Federation and click into azure-saidot-pool. Click Grant access (top of the page).
In the dialog:
-
Choose Grant access using service account impersonation
-
Service account:
wif-saidot-model-agent-reader@<project-id>.iam.gserviceaccount.com -
Select principals: choose Only identities matching the filter
-
Attribute name:
subject -
Attribute value: paste our service principal ID from the table
-
-
Save
This is the click-through equivalent of granting roles/iam.workloadIdentityUser on the service account. You can verify it landed by opening the service account → Permissions tab, where the principal://... member should now appear.
Values you send back
When you've finished, return these six so we can complete the connection:
-
Project ID (e.g.
acme-ai-prod) -
Project number (e.g.
483726194055) — the numeric one on the Dashboard, not the ID -
Regions you use (e.g.
europe-north1, us-central1) -
Pool ID (e.g.
connector-pool) -
Provider ID (e.g.
connector-provider) -
Service account (e.g.
reader@acme-ai-prod.iam.gserviceaccount.com)
Note: Every API call is per-region and there's no global list, so tell us which regions you deploy models and agents in — we only query those.